House plants have become a topic of conversation lately as people are reconnecting with all things nature and organic. They have always been a design feature and for me it makes my house look fresh and stylish. If you choose the right plant, they can be relatively low maintenance and the plant sings out your green fingers. I believe nurturing house plants is a win / win situation – if you have enough large house plants, they remove volatile organic compounds from an indoor environment. Indoor plants offer the joy of taking care of something and seeing it respond and connecting to the plant that way helps in our own personal growth.
10 Hardy Indoor plants
ZZ plant/ Zamioculcas
Heart leaf Philodendron vine/Philodendron hederaceum
Peace Lily / Spathiphyllum
Devil’s ivy / Pothos
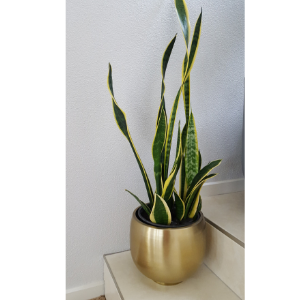
Mother-in-law’s tongue or snake plant/ Sansevieria trifasciata
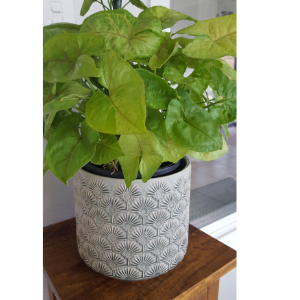
Swiss cheese plant / Monstera deliciosa
Rubber tree / Ficus Elastica
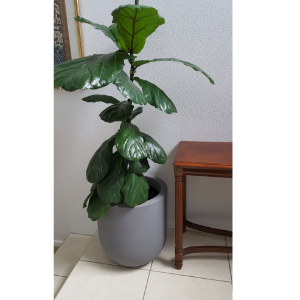
Fiddle leaf fig / Ficus lyrata
Radiator Plants /Peperomia
Cactus / Cactaceae
Some such as fiddle leaf fig, Swiss cheese plant, Rubber tree and Philodendron can get very big. If you are a novice at growing, you are better to get a full sized one or if you have a bit of experience, you can get a smaller one in spring and nurture it to full size.
Now that I have my plants what next…
Get yourself off to a good start by buying the right plant for your space and lifestyle.
I like to place a used kitchen sponge or kitchen cloth between the pot and the saucer. I believe this retains some of the moisture and prevents the roots drying out.
The plants mentioned above like to dry out between waterings which is why they are user friendly. They will thrive best with bright, indirect light. You can group two or three plants together and make a living sculpture.
Tips to take care of your plants
Make yourself a routine of inspecting the health of your plant and watering on a regular basis. Perhaps in the initial stages you can make a time on your calendar until it becomes a routine.
Do the “finger test” to avoid over watering – pop a finger in the soil. If it’s still wet, don’t water it. Over watering is a common mistake and the reason why house plants die.
When I go away on holiday, I fill my bath tub with about an inch of water and I lay old towels in the bath tub. I place all my house plants minus the saucers in the bath tub. I have left my house plants this way for up to five weeks over summer and they all survived.